Salesforce DevOps Training development, maintaining agility and delivering frequent, high-quality releases is crucial. Implementing DevOps practices is the key to achieving this, and Copado stands out as a powerful platform for automating and streamlining the Salesforce development lifecycle. This article provides a comprehensive guide on how to implement Salesforce DevOps using Copado, empowering organizations to accelerate their development processes and enhance collaboration.
Understanding the Need for Salesforce DevOps:
Traditional Salesforce development often involves manual deployments, change sets, and a lack of robust version control, leading to errors, delays, and inconsistent releases. DevOps addresses these challenges by automating key processes, improving collaboration, and ensuring consistent deployments across environments.
Copado: A Comprehensive DevOps Platform for Salesforce:
Copado is a leading DevOps platform specifically designed for Salesforce, offering a suite of tools that automate and streamline the entire development lifecycle. Its user-friendly interface and robust features make it an ideal choice for organizations seeking to implement Salesforce DevOps.
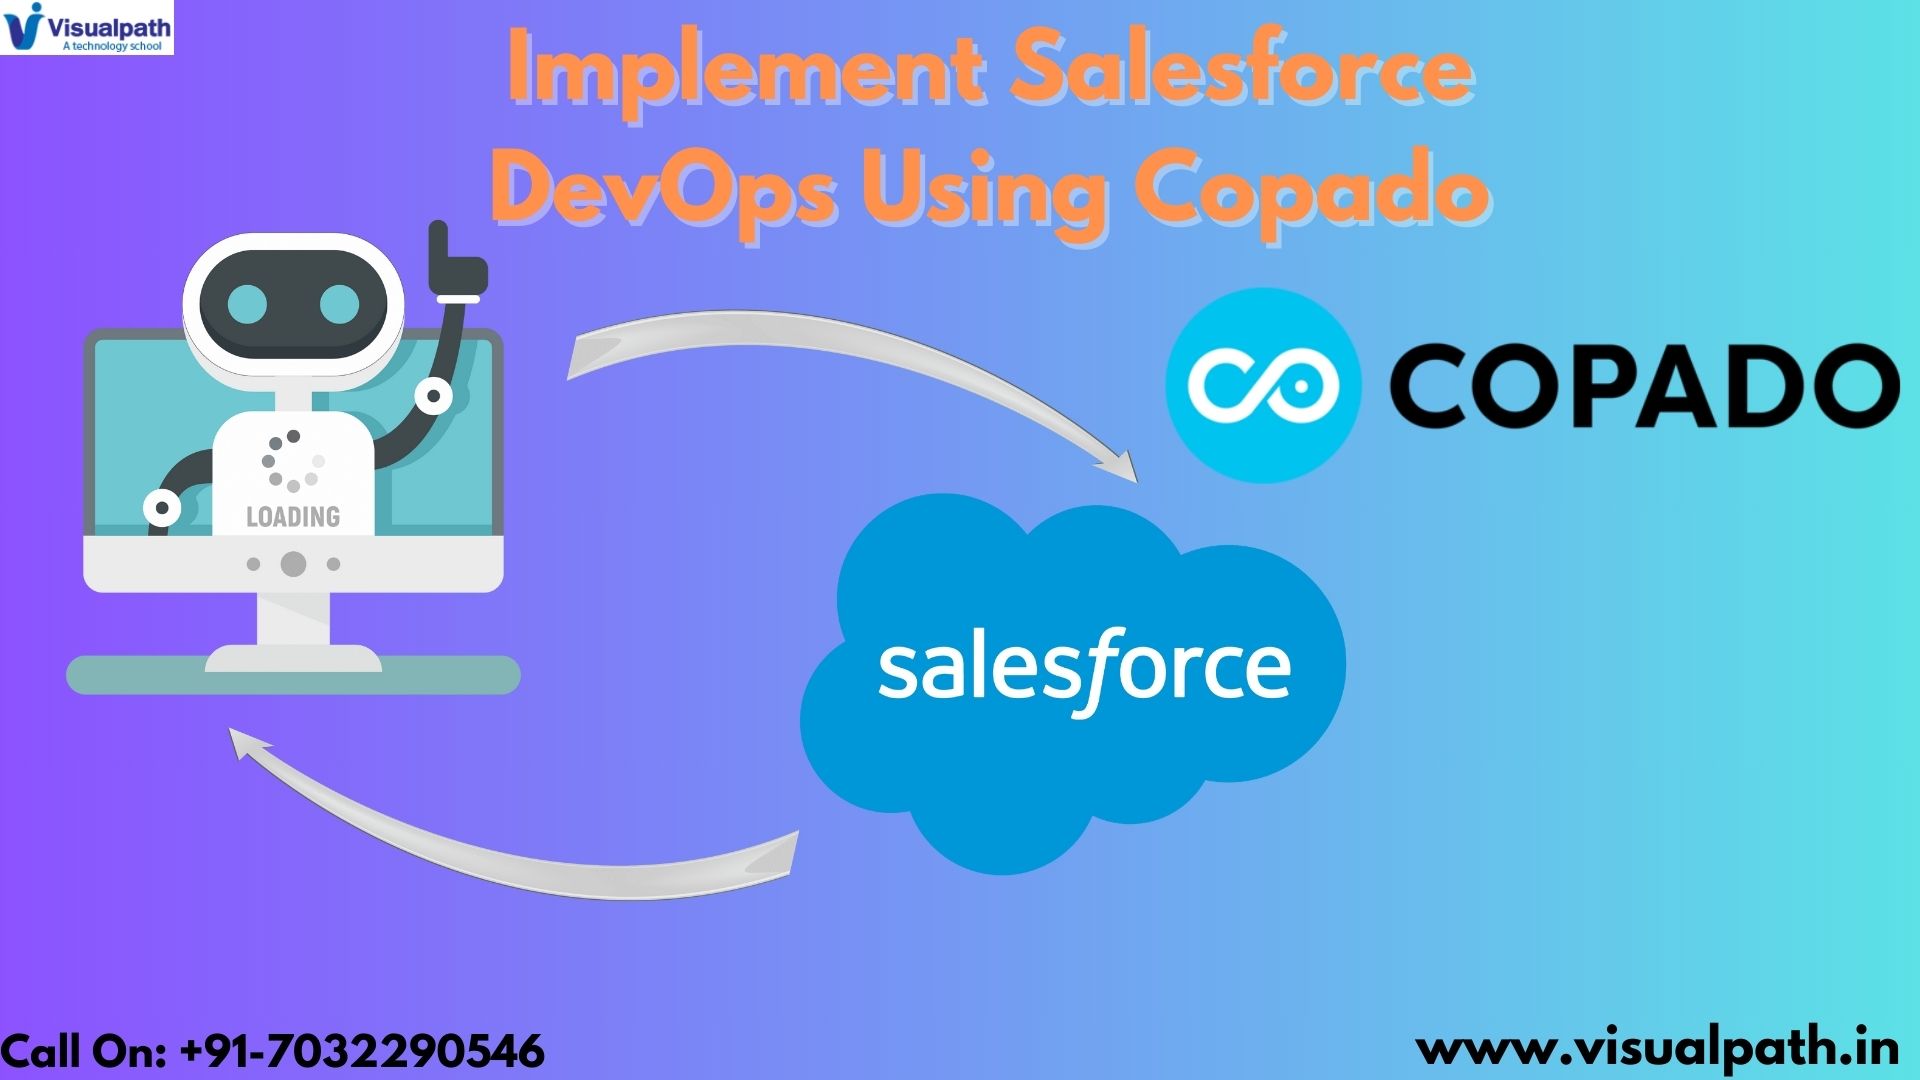
Key Steps to Implement Salesforce DevOps with Copado:
- Setting Up Copado:
- Install Copado in your Salesforce org and configure the necessary settings.
- Connect your version control system (e.g., Git) to Copado.
- Define your Salesforce environments (e.g., development, testing, production) within Copado.
- Establishing a Version Control Strategy:
- Implement a branching strategy that aligns with your development workflow (e.g., Gitflow).
- Enforce code reviews and pull requests to ensure code quality.
- Use feature branches to isolate development efforts and prevent conflicts.
- Automating the Build and Deployment Process:
- Create Copado pipelines to automate the build, test, and deployment processes.
- Configure deployment steps to include metadata deployments, data deployments, and Apex code deployments.
- Utilize Copado’s deployment packages to manage and deploy changes efficiently.
- Implementing Automated Testing:
- Integrate automated testing frameworks (e.g., Selenium, Playwright, Salesforce DX Testing) with Copado.
- Create automated tests for unit testing, integration testing, and UI testing.
- Configure Copado pipelines to run automated tests at various stages of the deployment process.
- Managing Environments Effectively:
- Utilize Copado’s environment management features to maintain consistency across Salesforce DevOps Course environments.
- Implement data masking and anonymization techniques to protect sensitive data in non-production environments.
- Use Copado’s org comparison tool to identify and resolve configuration differences between environments.
- Enhancing Collaboration and Communication:
- Utilize Copado’s collaboration features to facilitate communication between developers, testers, and operations teams.
- Implement a change management process to track and manage changes throughout the development lifecycle.
- Use Copado’s user stories and sprint management features to improve project visibility.
- Implementing Continuous Integration and Continuous Delivery (CI/CD):
- Configure Copado pipelines to automatically trigger builds and deployments based on code commits.
- Establish a CI/CD pipeline that automates the entire release process, from code commits to production deployments.
- Implement a rollback strategy to quickly revert to previous versions in case of deployment failures.
- Monitoring and Reporting:
- Utilize Copado’s monitoring and reporting features to track the progress of deployments and identify potential issues.
- Implement application performance monitoring (APM) tools to monitor the performance of Salesforce applications.
- Generate reports on deployment success rates, test results, and other key metrics.
- Security and Compliance:
- Implement security best practices to protect sensitive data and ensure compliance with regulatory requirements.
- Utilize Copado’s security features to control access to environments and deployments.
- Maintain detailed audit trails of all changes and deployments.
- Continuous Improvement:
- Regularly review and improve your Salesforce DevOps Online Training processes and tools.
- Gather feedback from team members and stakeholders to identify areas for improvement.
- Stay up-to-date with the latest Salesforce DevOps best practices and Copado features.
Benefits of Implementing Salesforce DevOps with Copado:
- Accelerated Release Cycles: Automate deployments and testing to deliver new features faster.
- Improved Release Quality: Reduce errors and ensure consistent deployments with automated testing and validation.
- Enhanced Collaboration: Foster teamwork and communication with collaboration features and streamlined workflows.
- Reduced Deployment Risks: Salesforce DevOps Certification Minimize human error and ensure reliable deployments with automated processes.
- Increased Developer Productivity: Free up developers to focus on innovation by automating repetitive tasks.
Conclusion:
Implementing Salesforce DevOps with Copado empowers organizations to streamline their development processes, enhance collaboration, and deliver high-quality releases faster. By following the steps outlined in this article, you can leverage Copado’s powerful features to automate key processes, improve collaboration, and achieve a truly agile and efficient Salesforce development lifecycle. Embrace Copado to unlock the full potential of your Salesforce development team.